Installation
Installing the User Access Hub Wordpress plugin is as easy as installing any other plugin. Follow these steps:
- Visit the User Access Hub Wordpress project page.
- Add the plugin to your site by upload or via the admin. See the Manage Plugins page of the Wordpress.org site for more details.
- Activate the plugin in the backend or with WP CLI:
wp plugin activate useraccesshub
There are many other ways to download and install this plugin, including composer. These methods are documented on the Wordpress site: Manage Plugins page of the Wordpress.org site.
Configuration
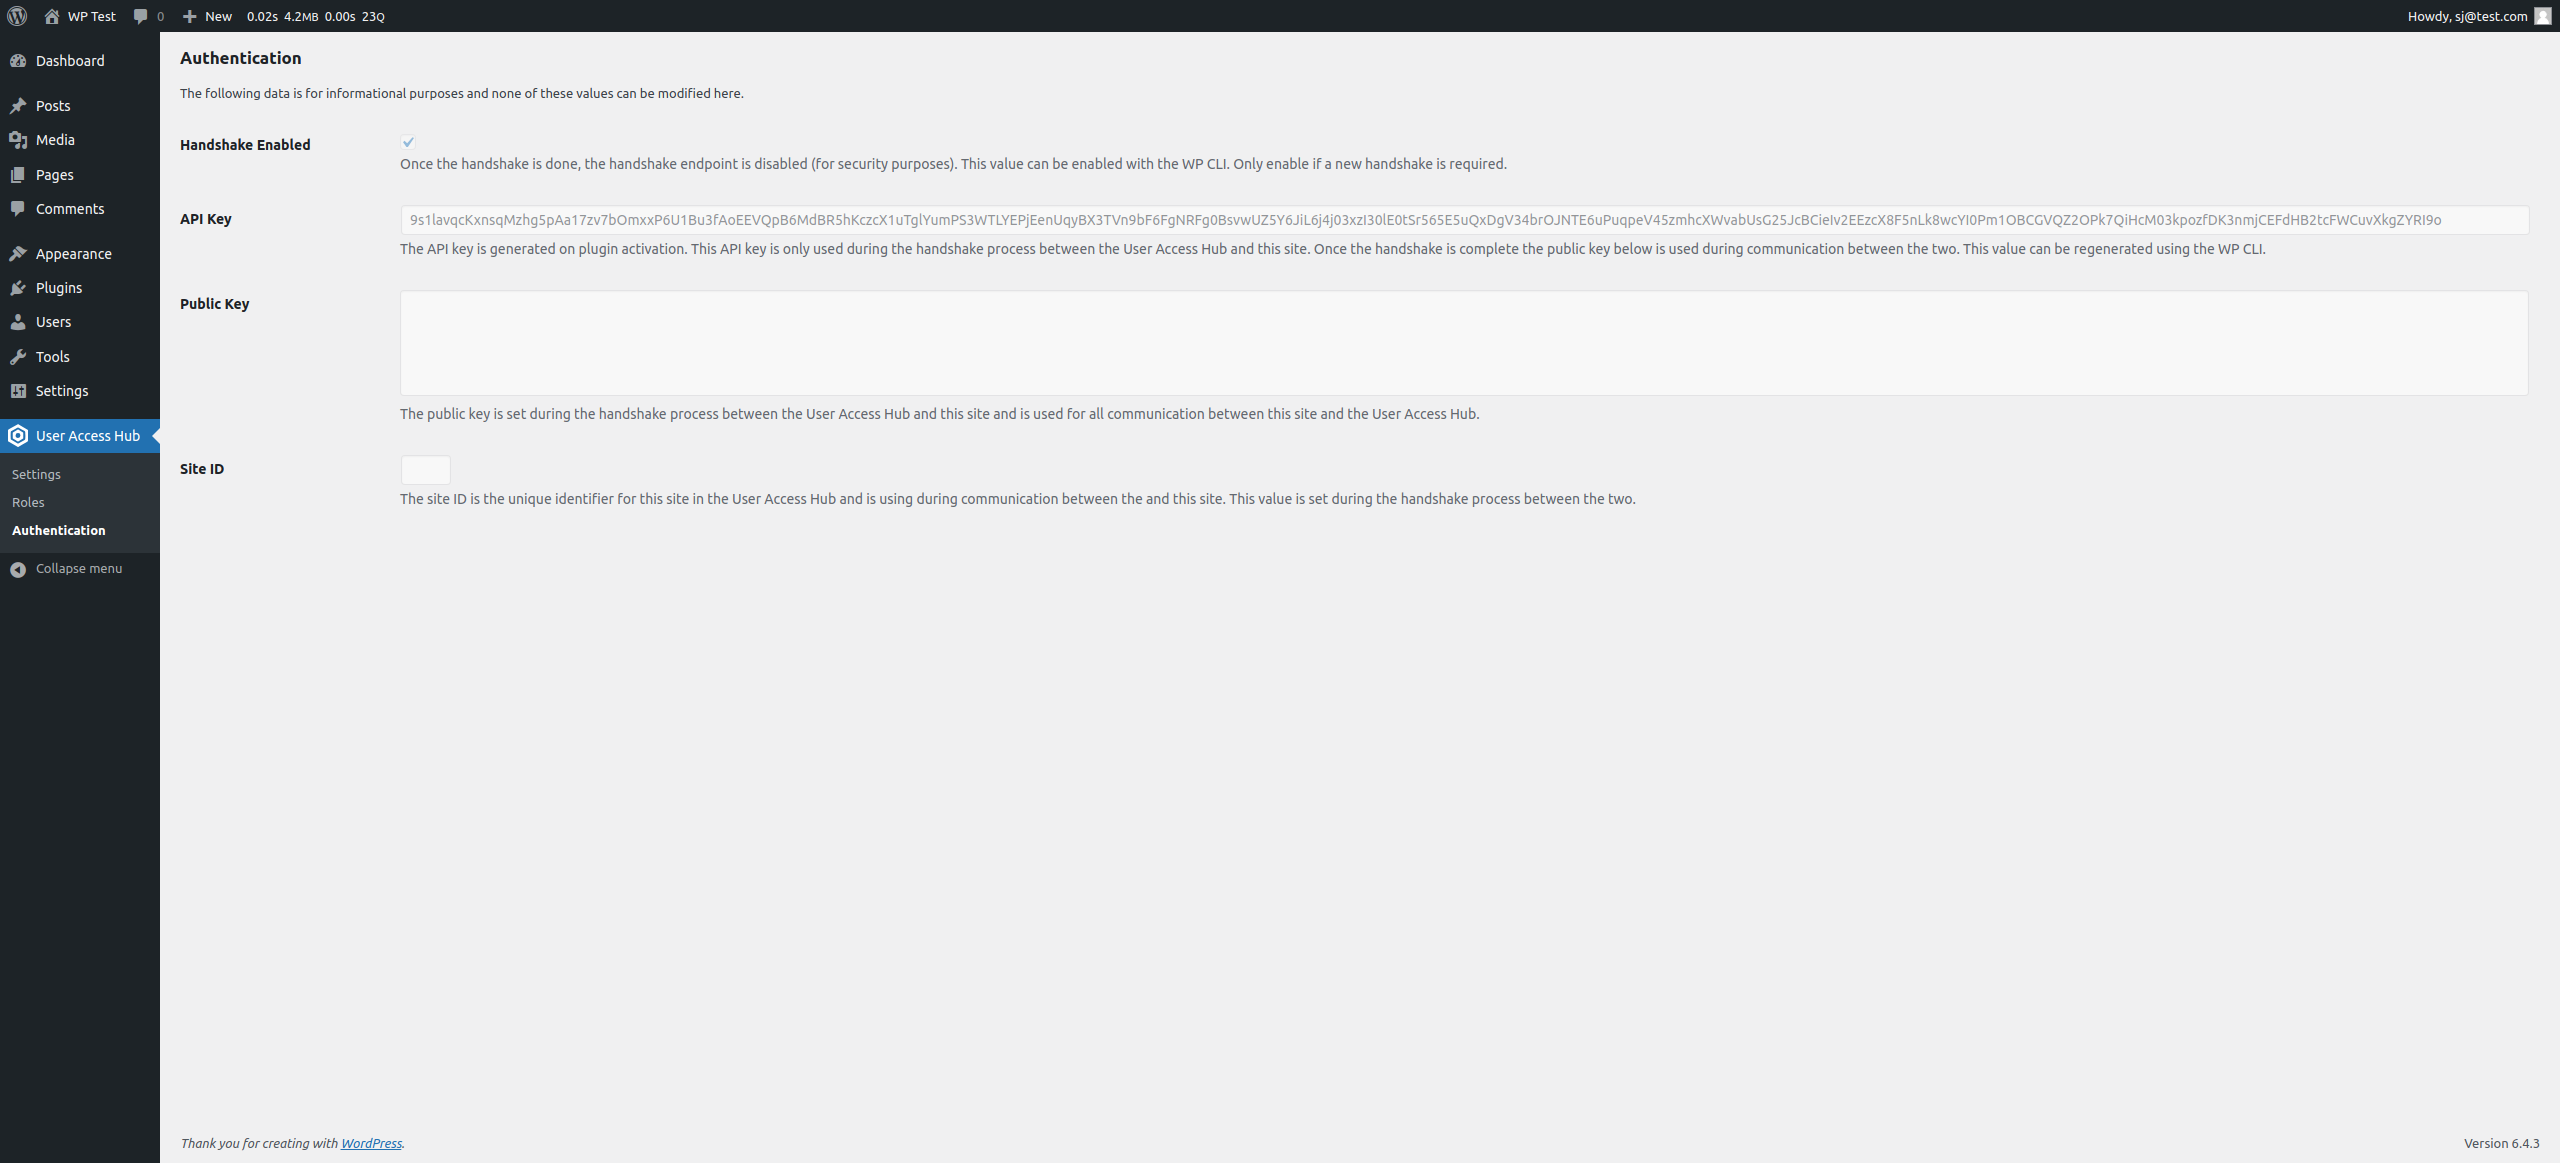
Activating the plugin will create an API key at User Access Hub > Authentication. None of the fields on this form can be edited through the admin. The 'Enable the Handshake Endpoint' checkbox should be checked.
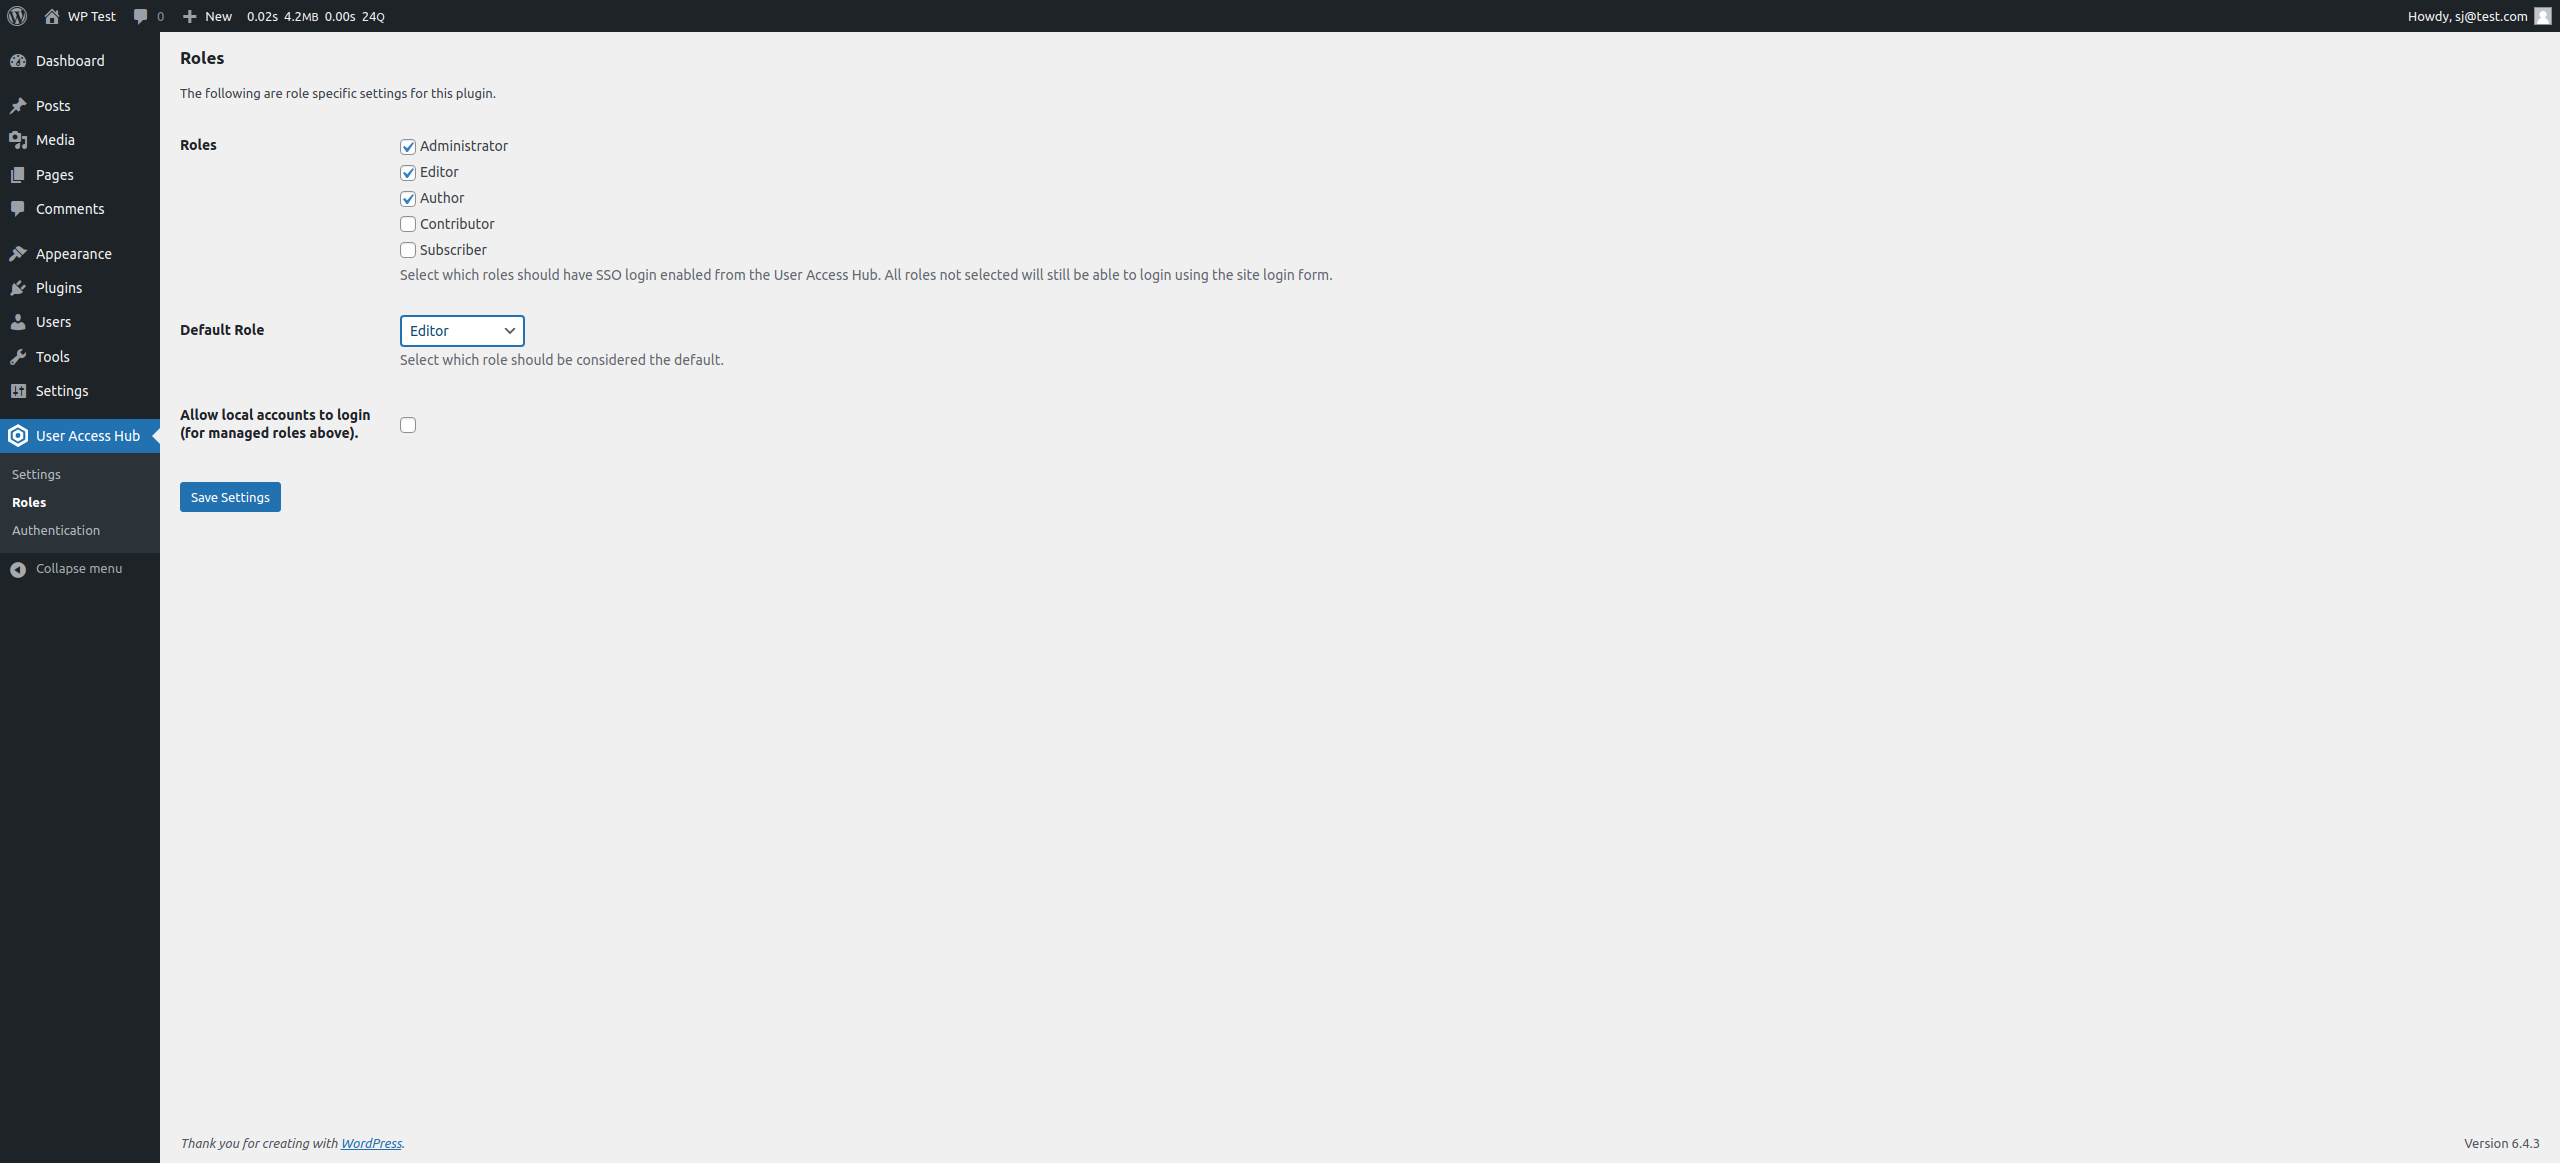
Select the roles that should be handled by the hub's SSO functionality at User Access Hub > Roles. Select the default role.
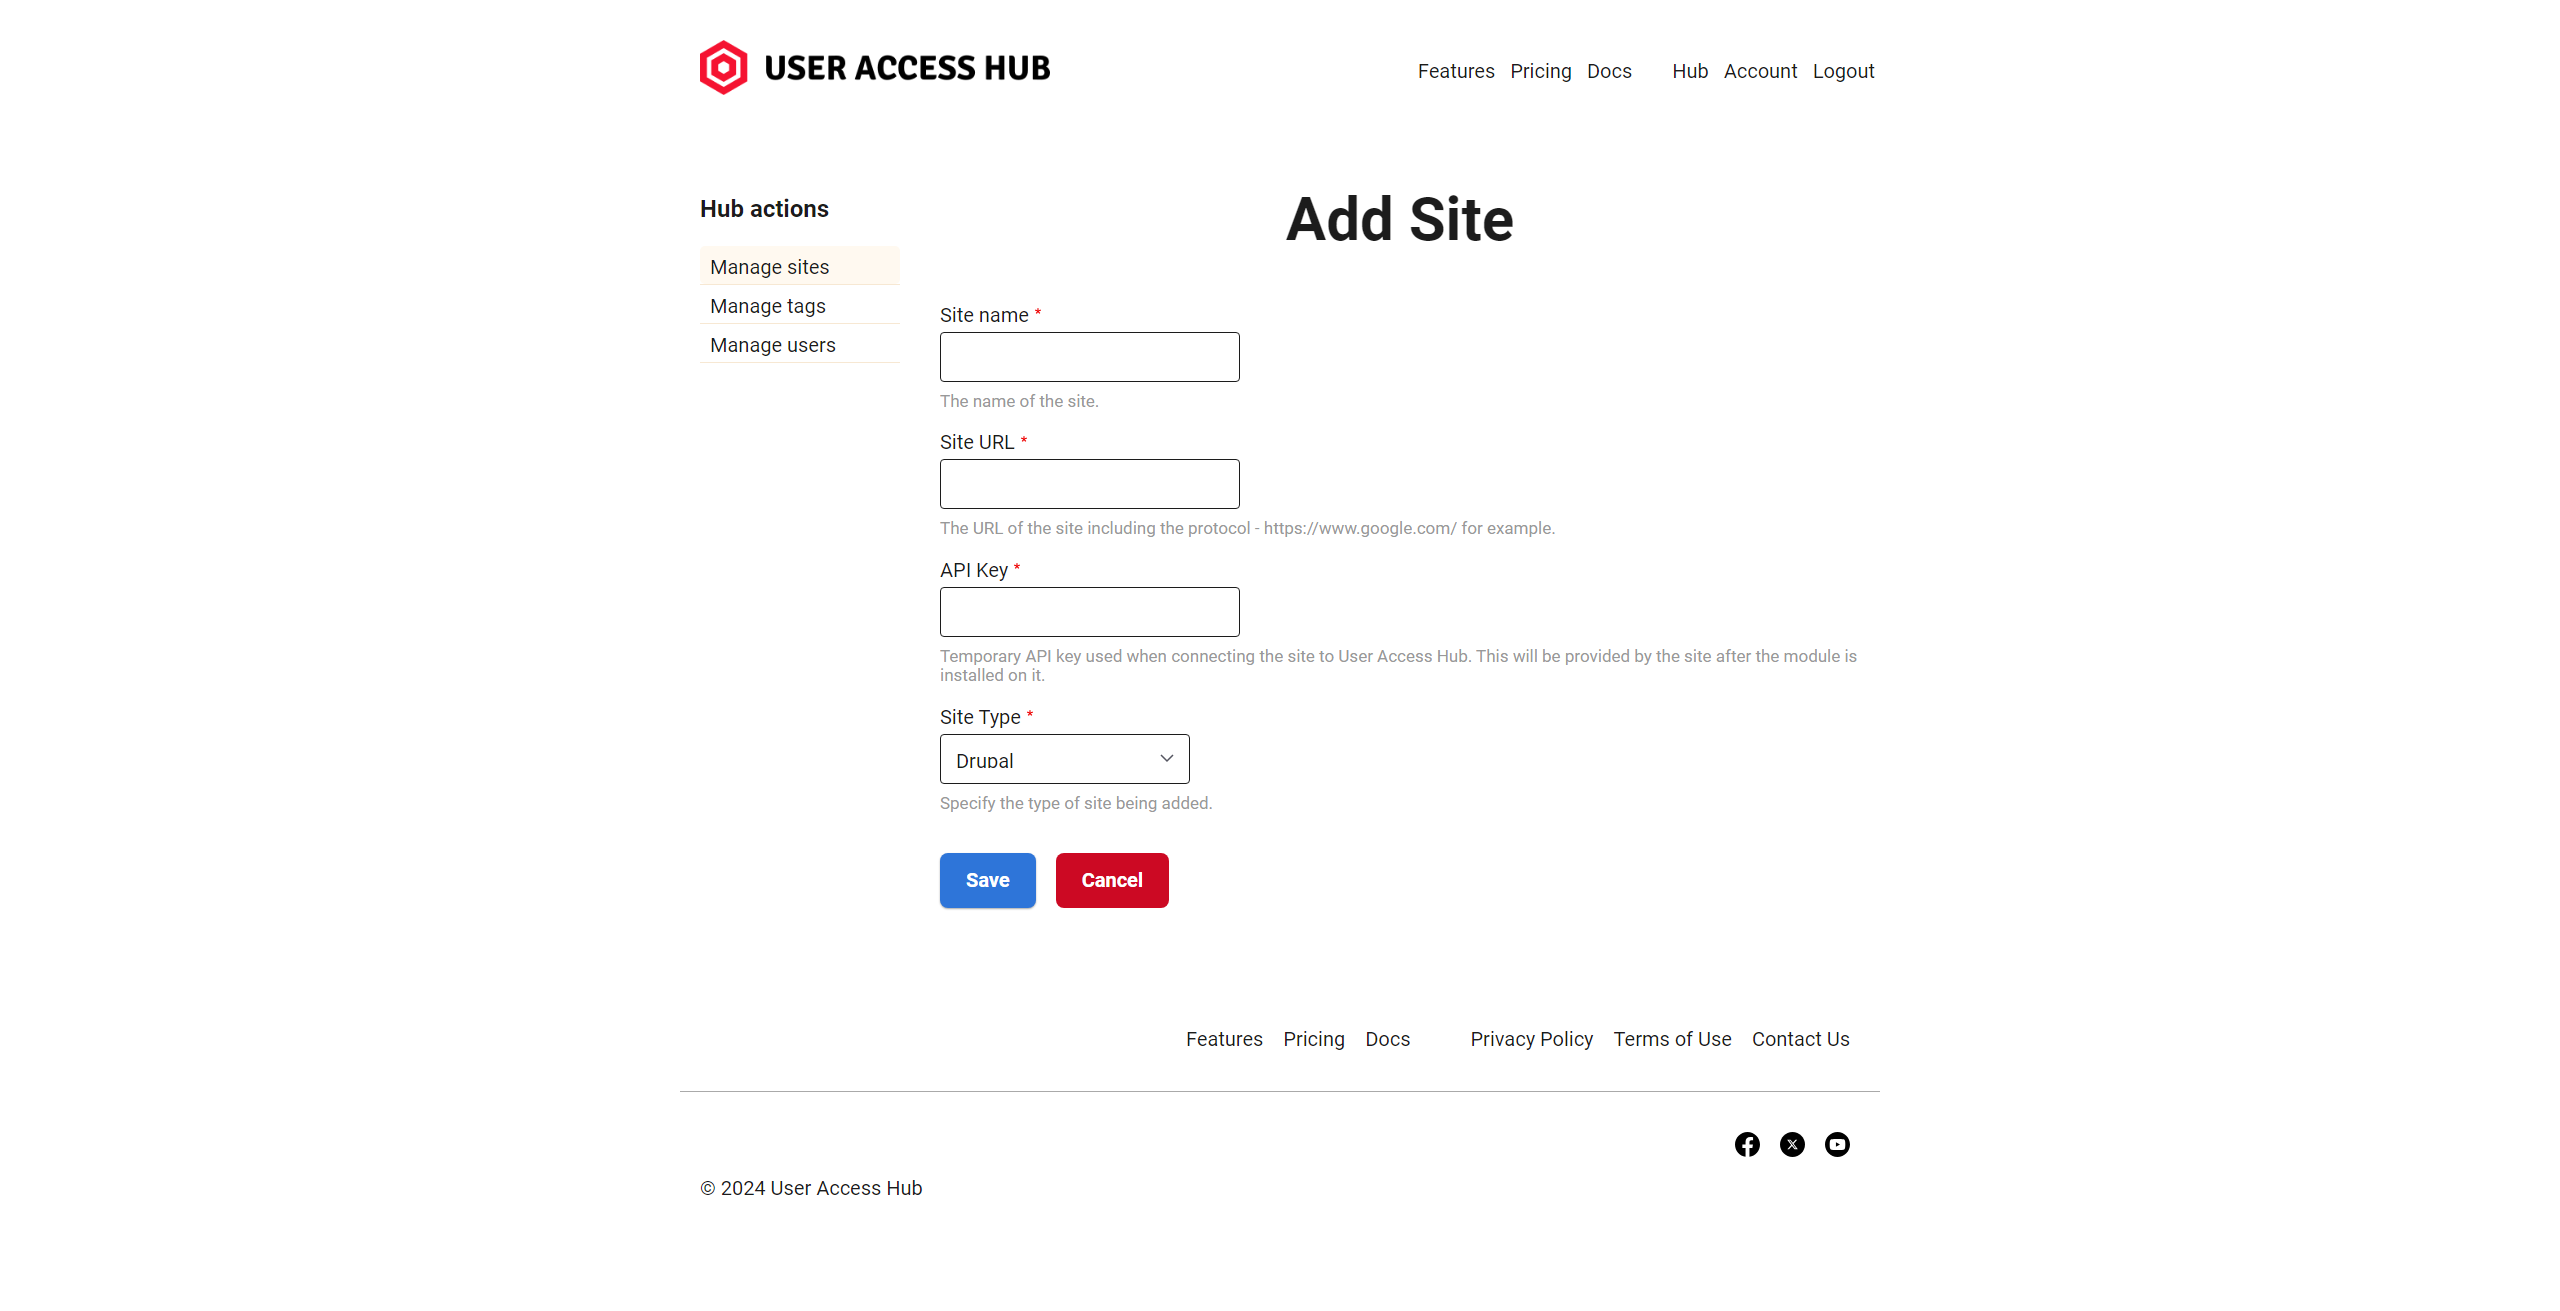
Add the site to the User Access Hub, setting the API key that was generated above.
In the hub, use the 'Connect' operation to allow the hub to handshake with the site. Once this is complete, settings on User Access Hub > Authentication will be updated - 'Public Key' will be populated, 'Site ID' will be populated and the 'Enable the Handshake Endpoint' checkbox will be unchecked.
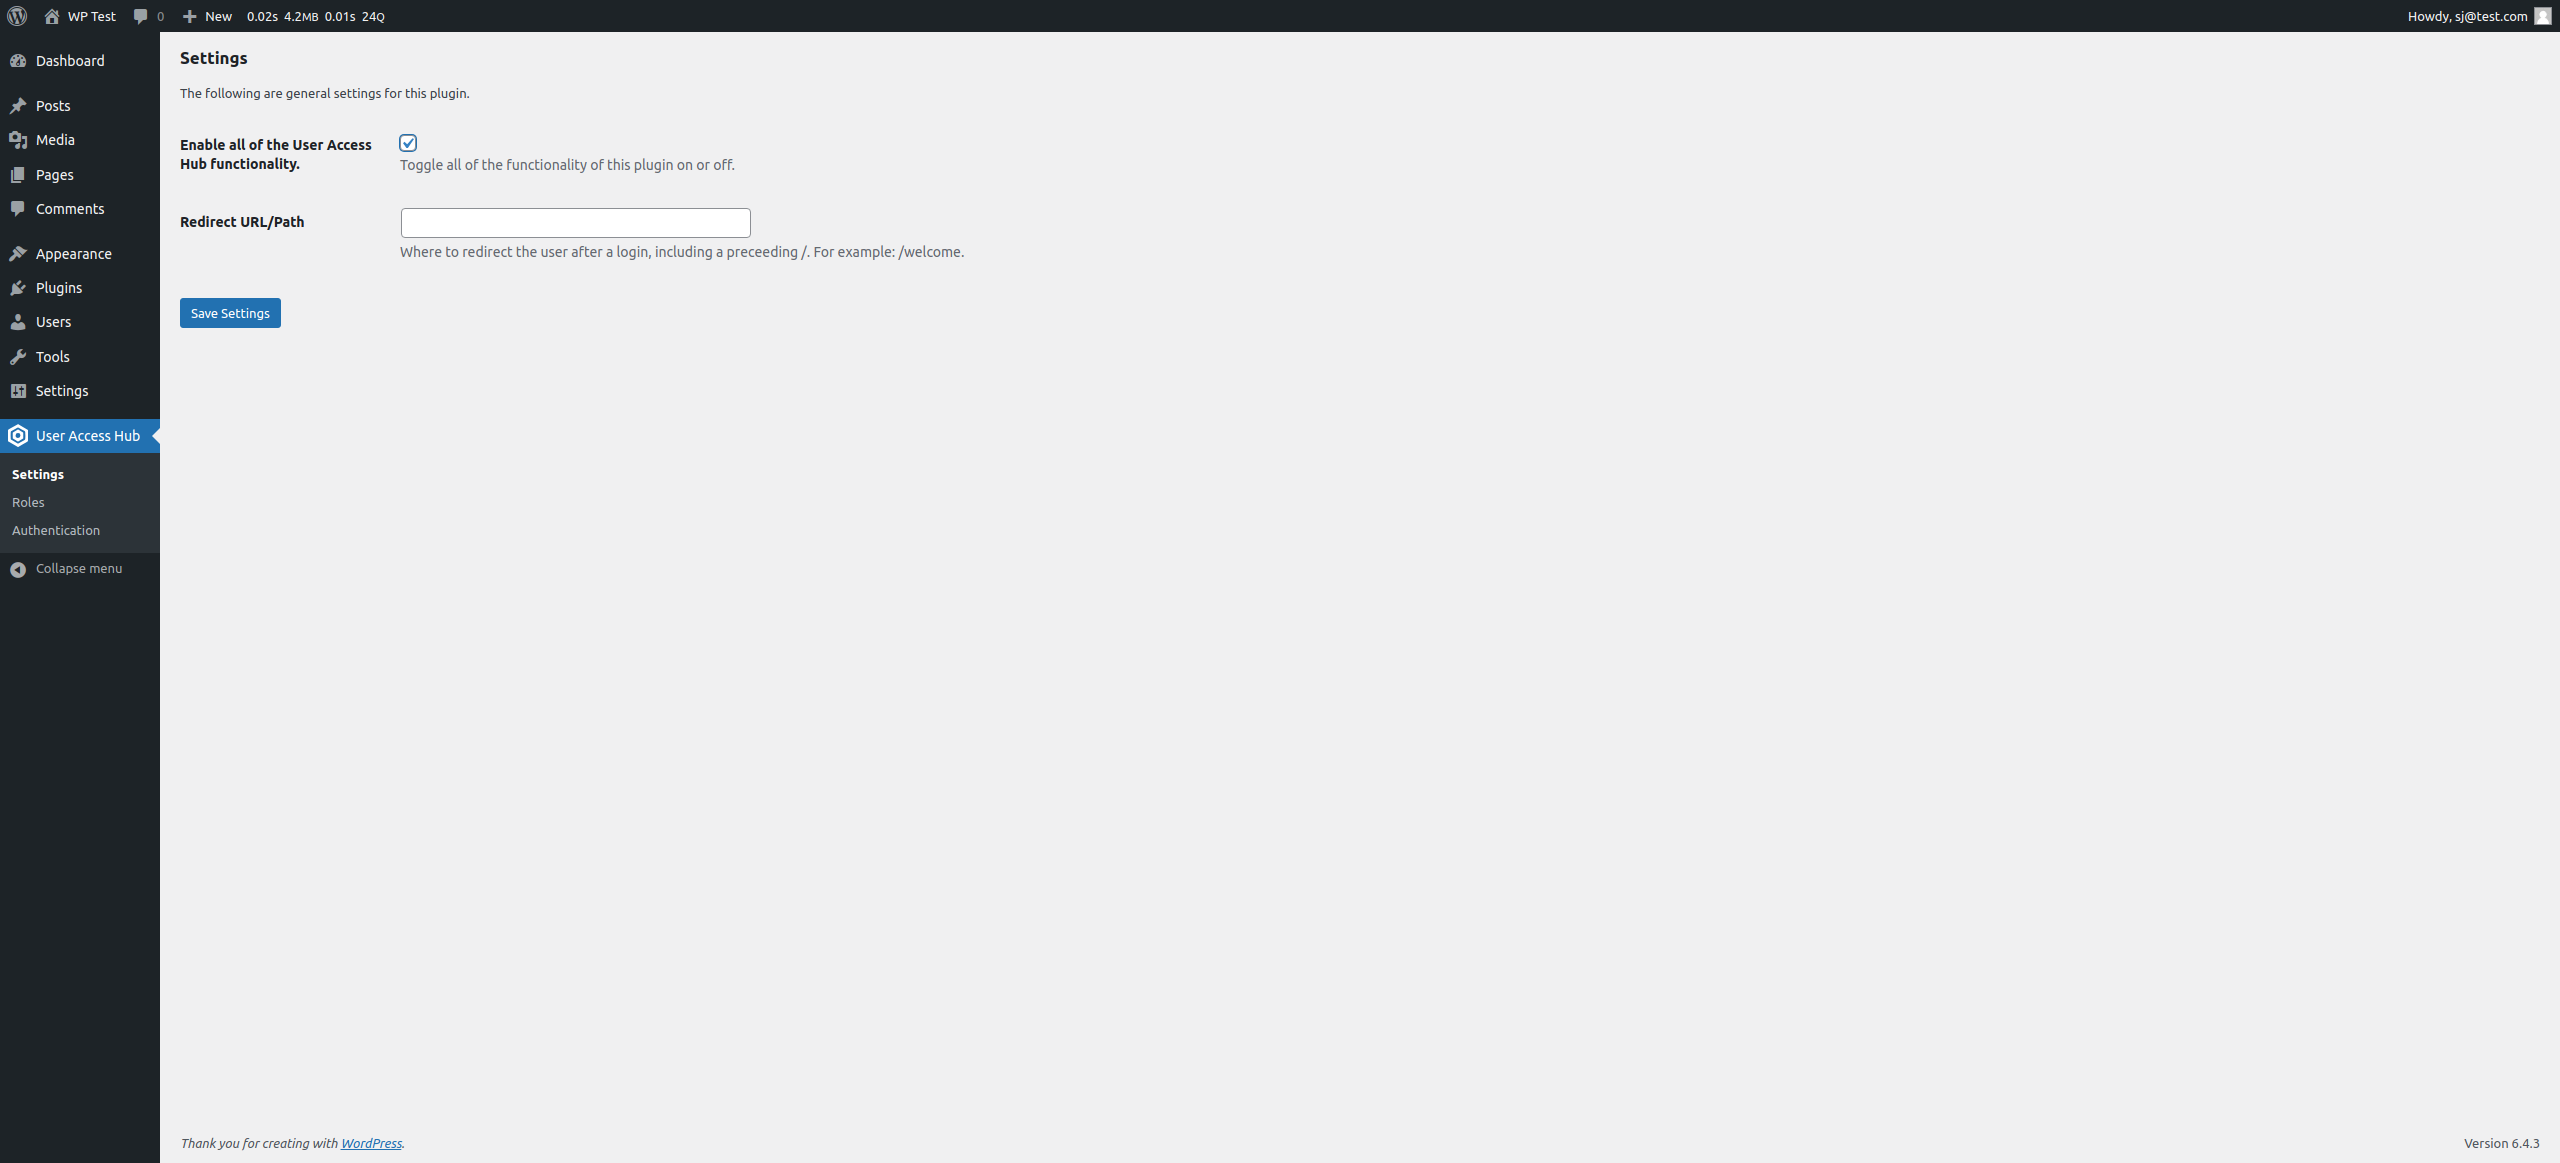
To enable all User Access Hub functionality, the final step is to check the 'Enable all of the User Access Hub functionality.' checkbox on User Access Hub > Settings.